


We love introducing brewers, bars, coffee shops, and anybody else to the exciting (and lucrative) world of canning your beverages. Adding a can seamer to your operation is a great way to share your homebrew with friends, impress your rivals at competitions, and add a new revenue stream to your business.
Thinking About Canning Your Beverages?
Look, we love kegs, and we’ve enjoyed plenty of tasty beers from bottles. But cans are an ideal option for a host of reasons.
They’re cheaper: Buying cans and CrowlersTM can be significantly cheaper than bottles, especially over time.They’re lighter: The added weight of glass bottles can make them more challenging to store and more expensive to transport. They can also be a real killer on your back.They recycle easier: Not only do new cans require less energy to make than glass bottles, but they need significantly less energy to recycle.
Your Guide on Filling and Can Seaming
Filling
How many ways are there to put beer in a can? Well, a lot, actually. And if you want your beer to last, you’ll take a few steps to maintain safety and flavor. First off, it's important to properly sterilize your cans, even if they’re brand new. You’ll also want to make sure that your beer is as cold as possible to prevent excess foaming and help retain carbonation.
If you’re filling a to-go can that the customer is going to drink within the next day or so, you probably don’t need to worry about going out of your way to remove excess oxygen. But if you want your beer to store for any length of time, you should do a quick CO2 purge to prevent oxygen from degrading the flavor of your beer. Be sure to gently blow the CO2 into the can to keep it from just spraying right out. Then fill from the bottom with an extended tube on your tap or a beer gun. Fill right up to the neck and place your can top (end) right on the foam.
Seaming
One of the best things about can seaming is how fast and easy it is. As professional lab coat-wearer Coleman explains, you can complete a seam in about eight seconds and a full case in less than two and a half minutes. If our math is correct, and we’re pretty sure it is, that’s 576 cans an hour. Some of our customers seam tens of thousands of cans per month with our seamers.
In basic terms, can seaming works by using two rollers to create a hook between the can and the lid and then pressing them together to create an airtight seal. The seamer starts by spinning the can before each roller comes out and presses against the top of it. The first roller will fold the curl of the lid underneath the flange at the top of the can, hooking them together and starting the seal. After that’s done, the second roller pushes against the interlocking hook, which presses the hook and flange together, creating a tight seal.
Some machines will take care of the can seaming process for you automatically, while manual seamers require you to move just one or two levers to complete the process.
Inspecting
Periodically, you’ll want to check the calibration of your seamer by performing a teardown and inspection of your cans. You’ll need several tools, including a teardown tool, seam nippers, and digital calipers. The operation manual that comes with your can seamer will give you the specifications that you should be targeting and how to adjust the calibration if necessary and how-to videos on our website can guide you through the process.
After completing the first operation, remove the can and use the calipers to measure the seam thickness. Be sure to hold the calipers parallel to the inside taper of the can to get a good reading, and don’t apply too much pressure with the calipers. After it's measured, put the can back into the machine and use the second roller to complete the seam. Then measure the thickness a second time.
Once those measurements have been taken, you can use the teardown tool to cut off the top of the can, and the nippers to cut into the seam. This will allow you to pull the seam itself out of the can. Then you can measure both the inside and outside leg of the seam in at least three different places to get a comprehensive measurement of the seam.
Choosing a Great Can Seamer
Oktober Can Seamers has a range of different options to fit your business and your budget. They’re compact, affordable, and easy to use with just a few minutes of training. Plus, we’ve got plenty of videos that will walk you through the process step-by-step.
Commercial Can Seamers
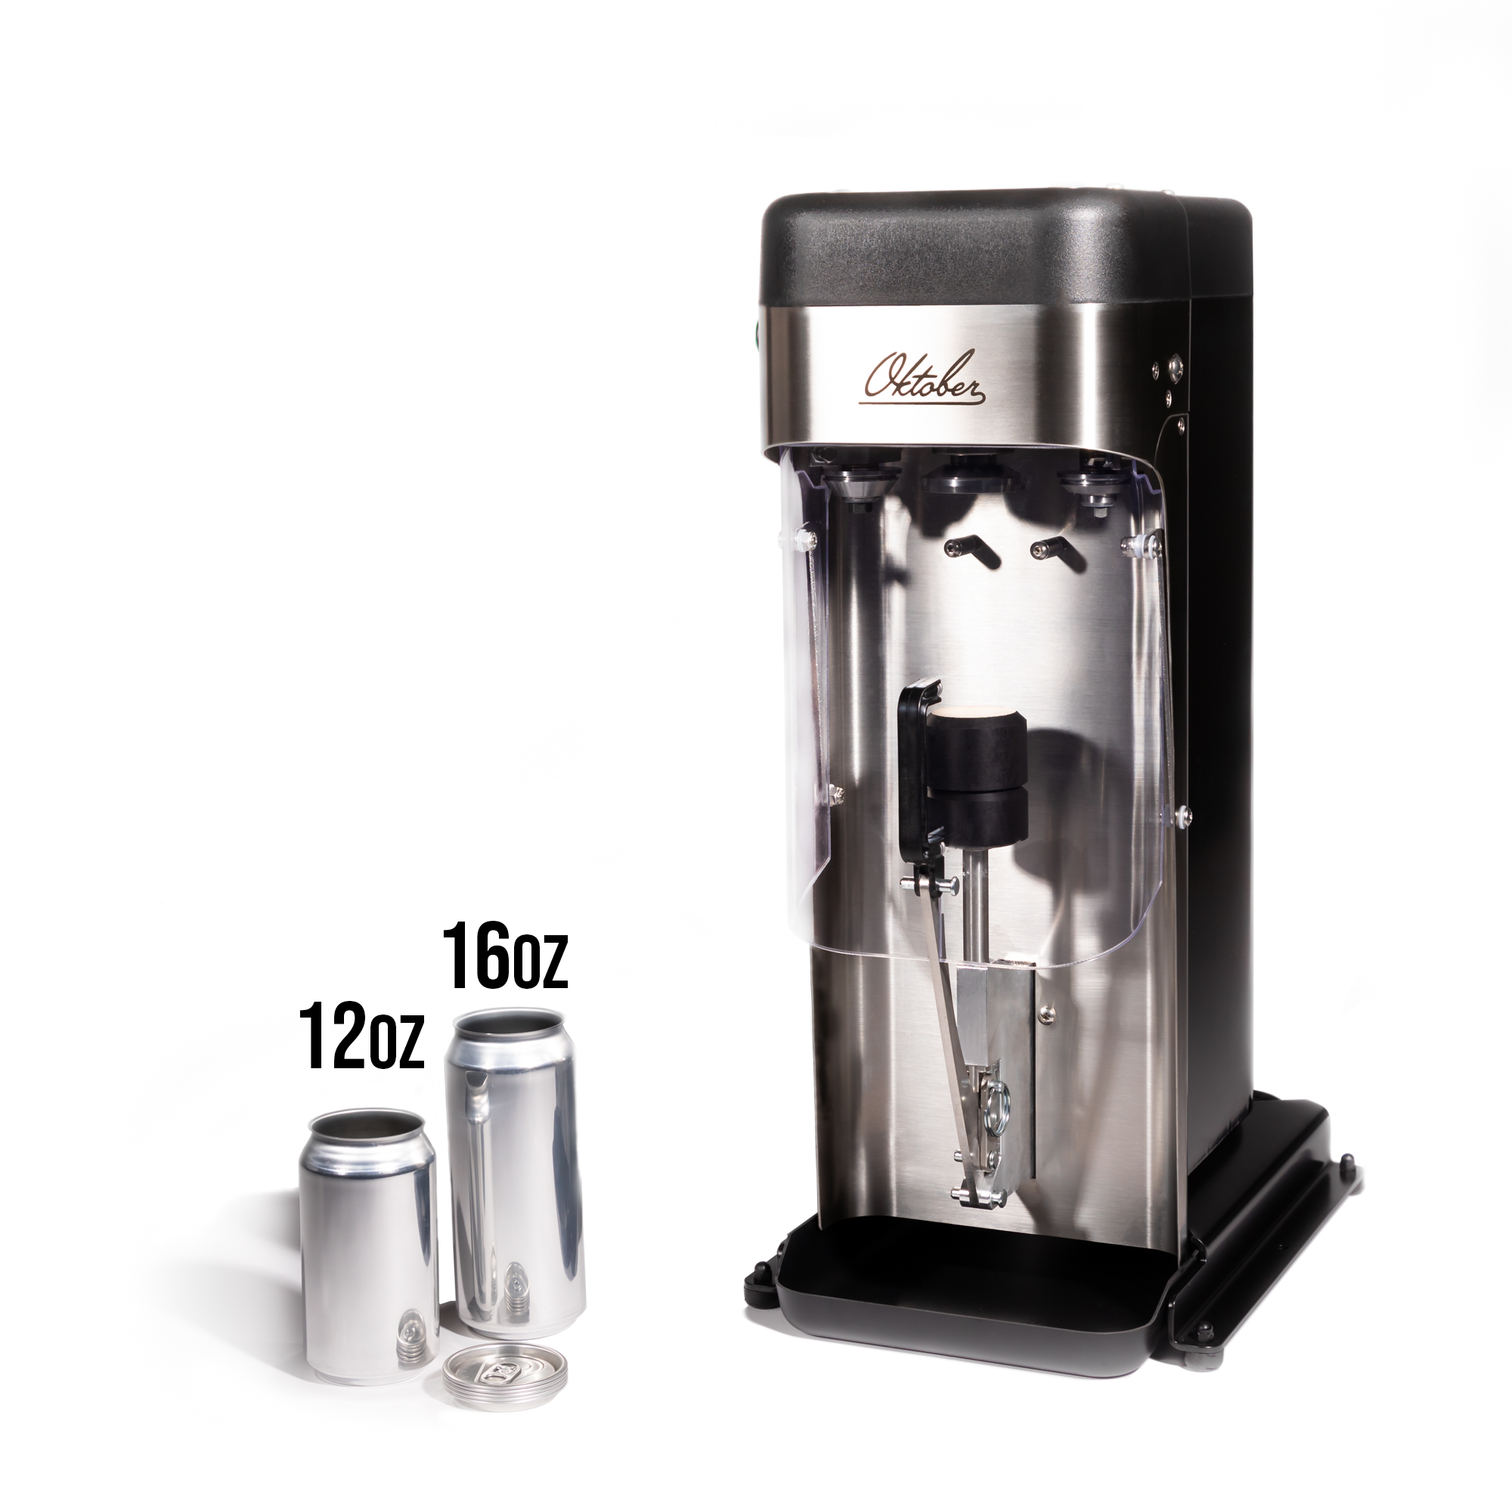
The Model 8 is our premiere can seamer for commercial operations. Just push one button to turn it on and one button to seam the can. No levers required! However, if you hate pushing buttons but love moving levers, we also have the Model 7 available. Both can be powered by standard outlets and require minimal maintenance.
Homebrew Can Seamers

We have two great options for the homebrew crowd. Our most affordable option is the BenchMK, which is a drill-powered seamer that is ideal for brewers who are just starting out. The SL1 Homebrewer is an electric can seamer that plugs into the wall but requires a bit more regular maintenance than the Model 7 or Model 8.
Order a Can Seamer Today
Ready to add a seamer to your operation? Buy a seamer from Oktober today. Or reach out to can seaming expert Coleman to get all of your questions answered.