


As a potential product line, cold brew coffee isn’t going anywhere. Whether you're canning standard cold brew or nitro coffee, there are massive revenue opportunities involved in offering canned coffee, either in your store’s coolers or through distributors.
Discover how to can coffee and why it’s helpful for growing your roasting business.
Why You Should Be Canning Cold Brew Coffee
Canning coffee goes a step further than offering it in your café and adds convenience by making it easier for your customers to enjoy their favorite cold brew throughout the day.
Not only will this keep revenue coming in, but it also allows you to do so without relying on an outside canning service to sell to your customers—allowing you to make more money with fewer production costs.
A Step-by-Step Guide on How to Can Coffee
Rinsing and Cleaning
Don’t skip this first step—it’s critical to clean and sanitize your cans before filling them, along with every other piece of equipment you’ll be using in the coffee canning process. Rinse everything in scalding hot water and scour your equipment. This process is essential for keeping your customers safe.
Purging
For coffee in particular, purging your cans and can ends before sealing them typically involves using a small amount of nitrogen from a keg to sterilize them. This typically involves using a beer gun or other tool to spray nitrogen inside your empty cans.
However, unlike canning beer or soda, it’s essential to use pressurized nitrogen instead of carbon dioxide, as the latter will make your coffee taste sour and won’t keep it shelf-stable for more than a few days.
Even though there is a bit of nitrogen in the coffee during this stage of the operation, this is not the same as creating nitro cold brew, as the coffee will still be “flat” when consumed.
Filling
Once your cans are freshly sterilized, it’s time to fill them with your coffee. However, one very important note: You’ll need to keep the coffee you’re canning as cold as possible—above freezing, but below the temperature of your coolers. This allows the coffee to expand slightly after canning, without causing bulges.
Once your coffee is as cold as it can possibly be without freezing, it’s time to pour it. However, pay close attention to the fill levels—you’ll want to leave about 1/4 inch of headspace, which gives the coffee room to expand once it’s in the slightly warmer environment of a refrigerator.
Seaming
Once your cans have been sterilized, purged, and filled, it’s time to seal your cold brew coffee. Your Oktober coffee canning machine allows you to create a tight and secure closure when you’re canning coffee, which further protects its freshness and safety. There are just a few easy steps in the seaming process:
Place the filled can on the seamer’s platform: Make sure the can is centered and aligned on the base, as this will ensure you’re seaming the product correctly.Start seaming: Once the can is spinning, use the lever on top to press both rollers against the can. The whole process should take roughly one second.Check for quality assurance: After the can is seamed, inspect it and make sure there’s a uniform seal. It should be tight, without any gaps or irregularities. This will help keep your product safe and improves its shelf life.
Tips for Canning Coffee Professionally
Pasteurizing Your Coffee
According to recent scientific studies, pasteurization can have massive benefits for the longevity of your canned cold brew, without sacrificing the smooth flavor of the coffee.
The process takes time but is quite simple. After you finish canning and sealing coffee, add your brew to a bath at 150 degrees Fahrenheit for 30 minutes. This eliminates the risk of pathogens and allows your coffee to remain shelf stable for over 60 days, further providing revenue opportunities for your coffee company.
Minimizing Air Intake
Air is one of your worst enemies in the canning process, because even a small amount of oxygen can cause your product to spoil—or, in a worst-case scenario, become a breeding ground for botulism—before your customer has a chance to drink it. Minimizing the amount of oxygen getting into your product is essential.
That’s partly why it’s important to move quickly once you’ve nitrogenized your cans. Doing so allows less time for air to seep into the product and protects the flavor from the effects of oxidation.
Canning Nitro Coffee
The process of canning nitro coffee is a bit different from canning standard cold brew coffee. Although the standard process uses nitrogen as a pressurization method, many who try canning nitro coffee use liquid nitrogen dosing systems to enhance the flavor and silky-smooth texture of your coffee, even after you’ve canned it.
In addition to the normal process of making cold brew coffee, you’ll also need to add a dose of liquid nitrogen to the can before proceeding with the canning process. Another option you have involves putting your batch of cold brew in a keg and connecting a nitrogen tank at a relatively high PSI to sterilize the can.
Canning Coffee without Nitrogen
A second option involves dosing your cold brew coffee with hydrogen instead of nitrogen, either in individual cans or an entire batch. With a similar taste and mouth-feel to nitrogen-dosing, you can use citric acid to lower the pH level of your cold brew before canning it, while providing the same creamy flavor as nitrogen.
The time this process takes can vary, but it still allows your customers to enjoy their cold brew coffee the next day. Whichever route you choose, make safety and sterilization your top priority. Otherwise, proceed as normal, so your clients can enjoy the smoothest coffee experience of their lives.
Testing the Product
As a rule of thumb, you should always test your product before you start canning cold brew. Set up a gamut of quality control and assurance measures—including testing your canned cold brew for oxygen, swabbing your most commonly used surfaces to avoid microbial contamination, and testing your cans to make sure their seam is in spec.
Once you know for sure that your canned coffee is safe, you can taste test it.
Choosing a Coffee Canning Machine
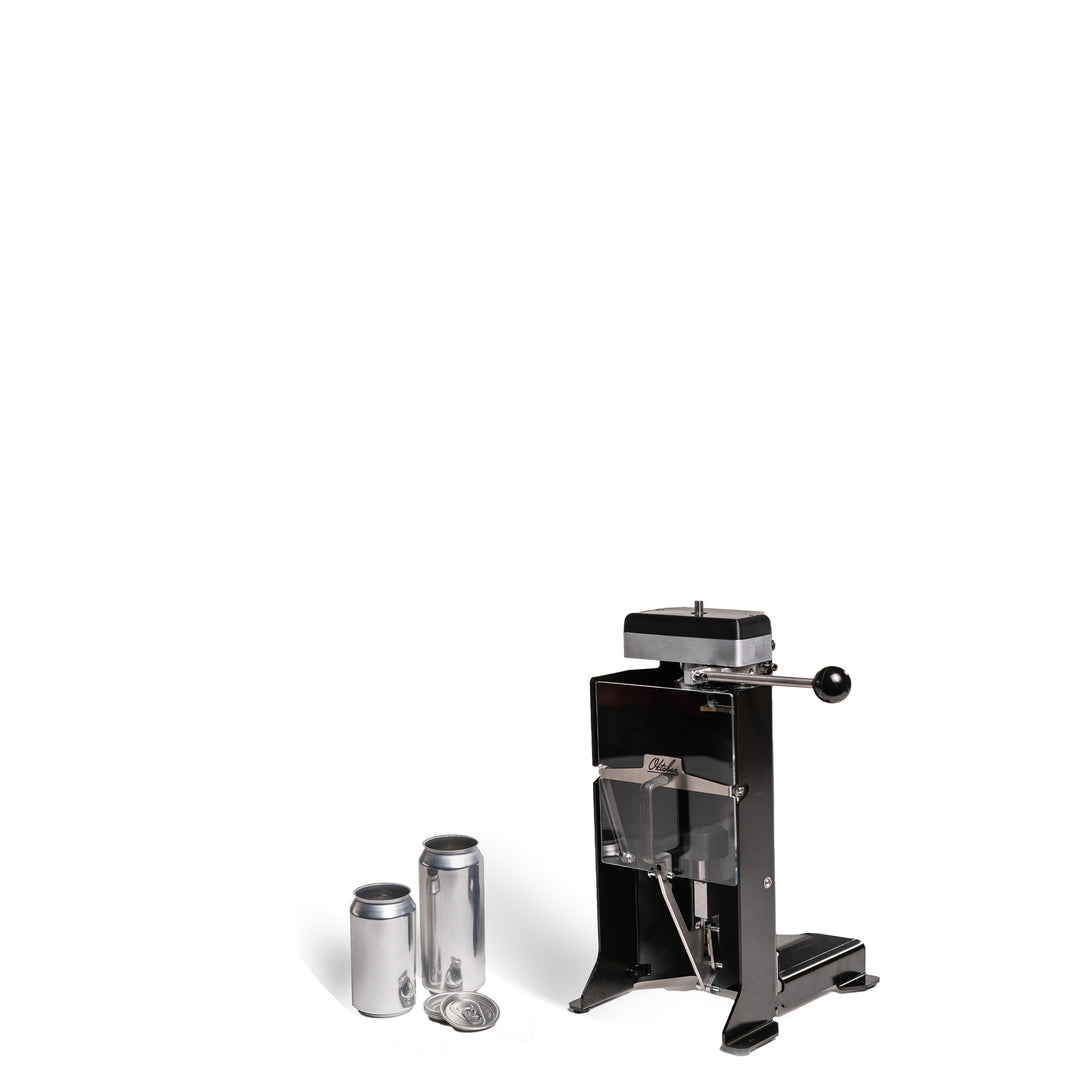
Model 8 Can Seamers
The most robust model we offer, the Oktober Model 8 Can Seamer is a peerless coffee canning machine with automatic capabilities. With it, you or your employees can seal a single can of cold brew coffee in roughly three seconds without involving any manual labor besides taking the sealed can off of the machine afterward.
The Model 8 is available in six different variations, making it easier for your team to restock your walk-up cooler with slim cans full of your regular or nitro cold brew.
Model 7 Can Seamers
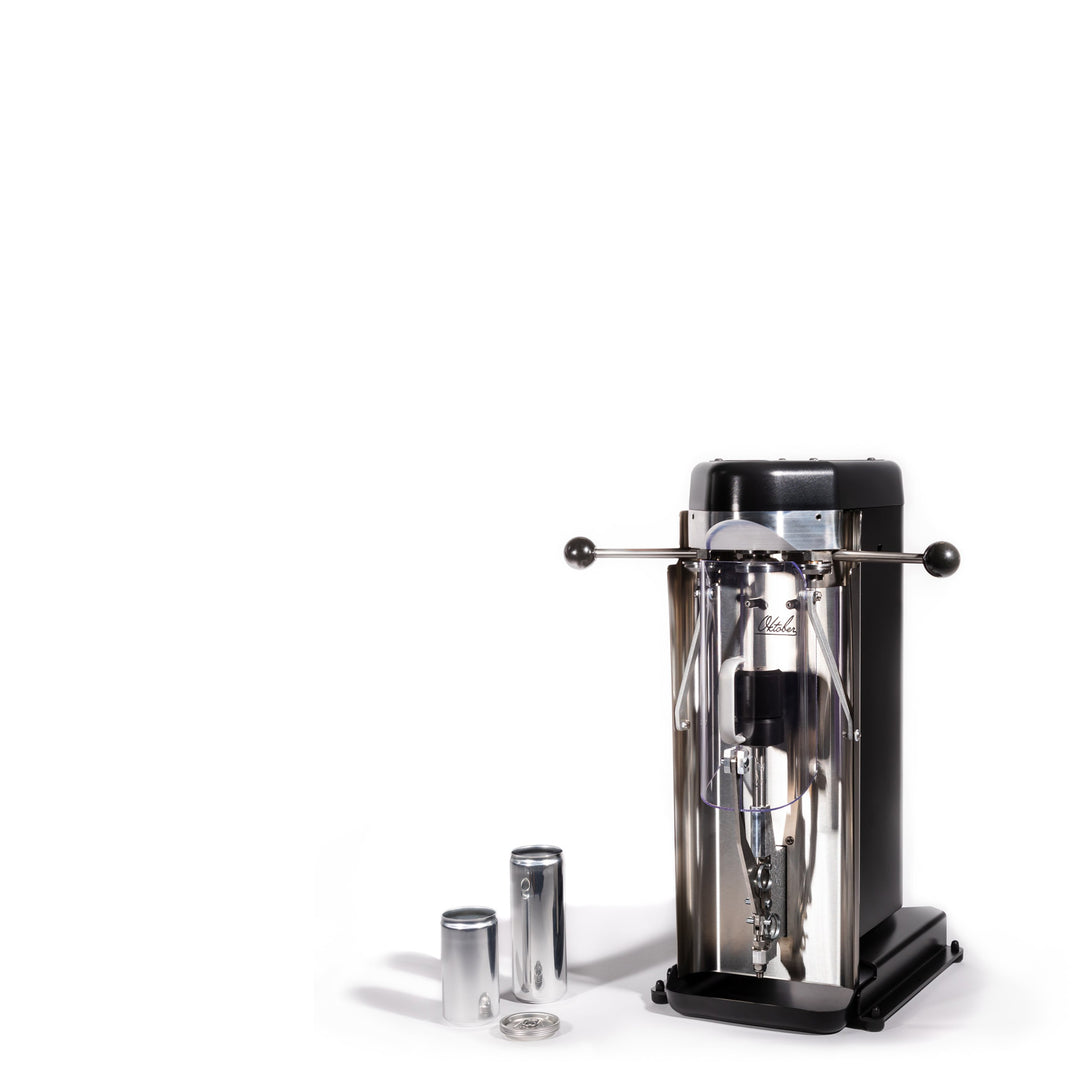
A semi-automatic beverage can seamer that we built for commercial use, the Model 7 is a close cousin of our Model 8 coffee canning machine.
Although the process of using the Model 7 is slightly more manual, the user just needs to turn two levers to press the rollers against the can. It takes just a few seconds and minimal training.
The Model 7 works with a wide range of can sizes and is available in custom colors.
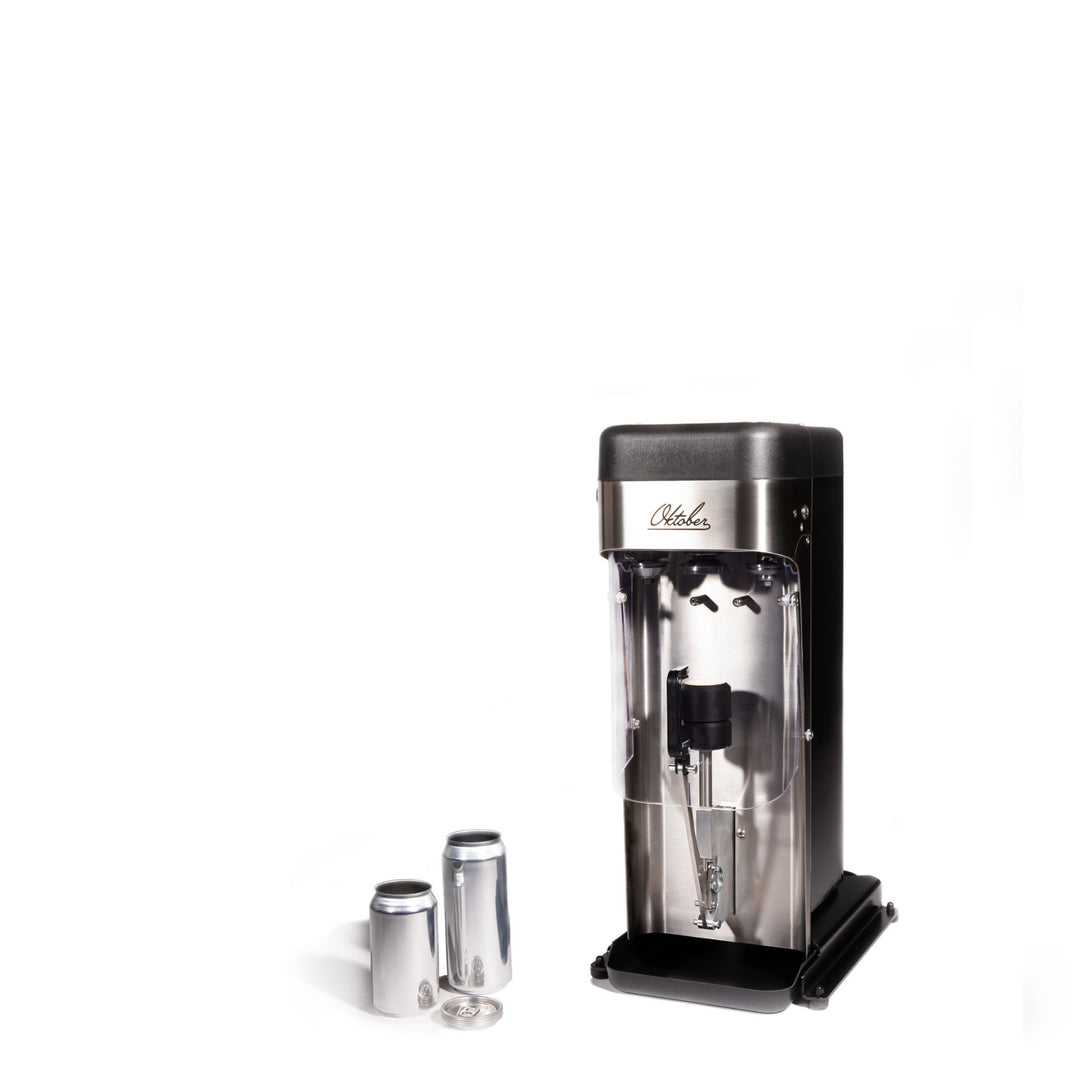
SL1 Homebrewer
A compact, versatile cold brew coffee canning machine, the SL1 Homebrewer was originally designed for home brewing but is great for supplementing your coffee company’s income. It’s engineered to seal aluminum cans with size 202 can ends, which are some of the most common sizes you’ll find in the industry.
The SL1 comes with adapters for 12-ounce and 16-ounce cans, meaning you’ll be able to can your coffee in two of the most popular can sizes available.
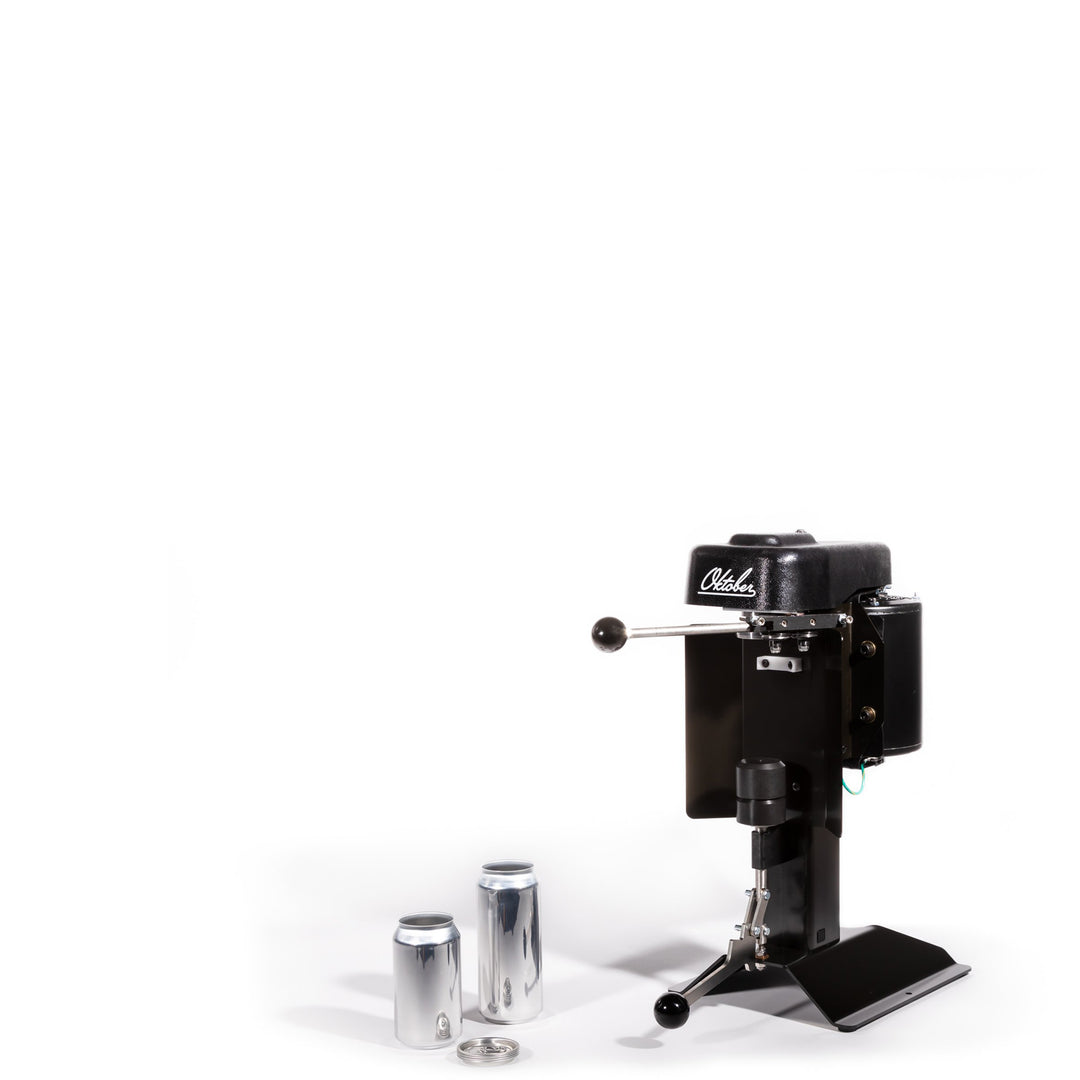
BenchMK
Originally made with home brewers in mind, the BenchMK is a drill-powered can seamer that produces professional-quality canned cold brew with ease. Its precise seaming mechanism creates a tight, secure seal every time, preserving your coffee in small batches for whenever your customers are ready to enjoy it.
Other Important Equipment for Canning Coffee
Calibration and Tooling Change Kit
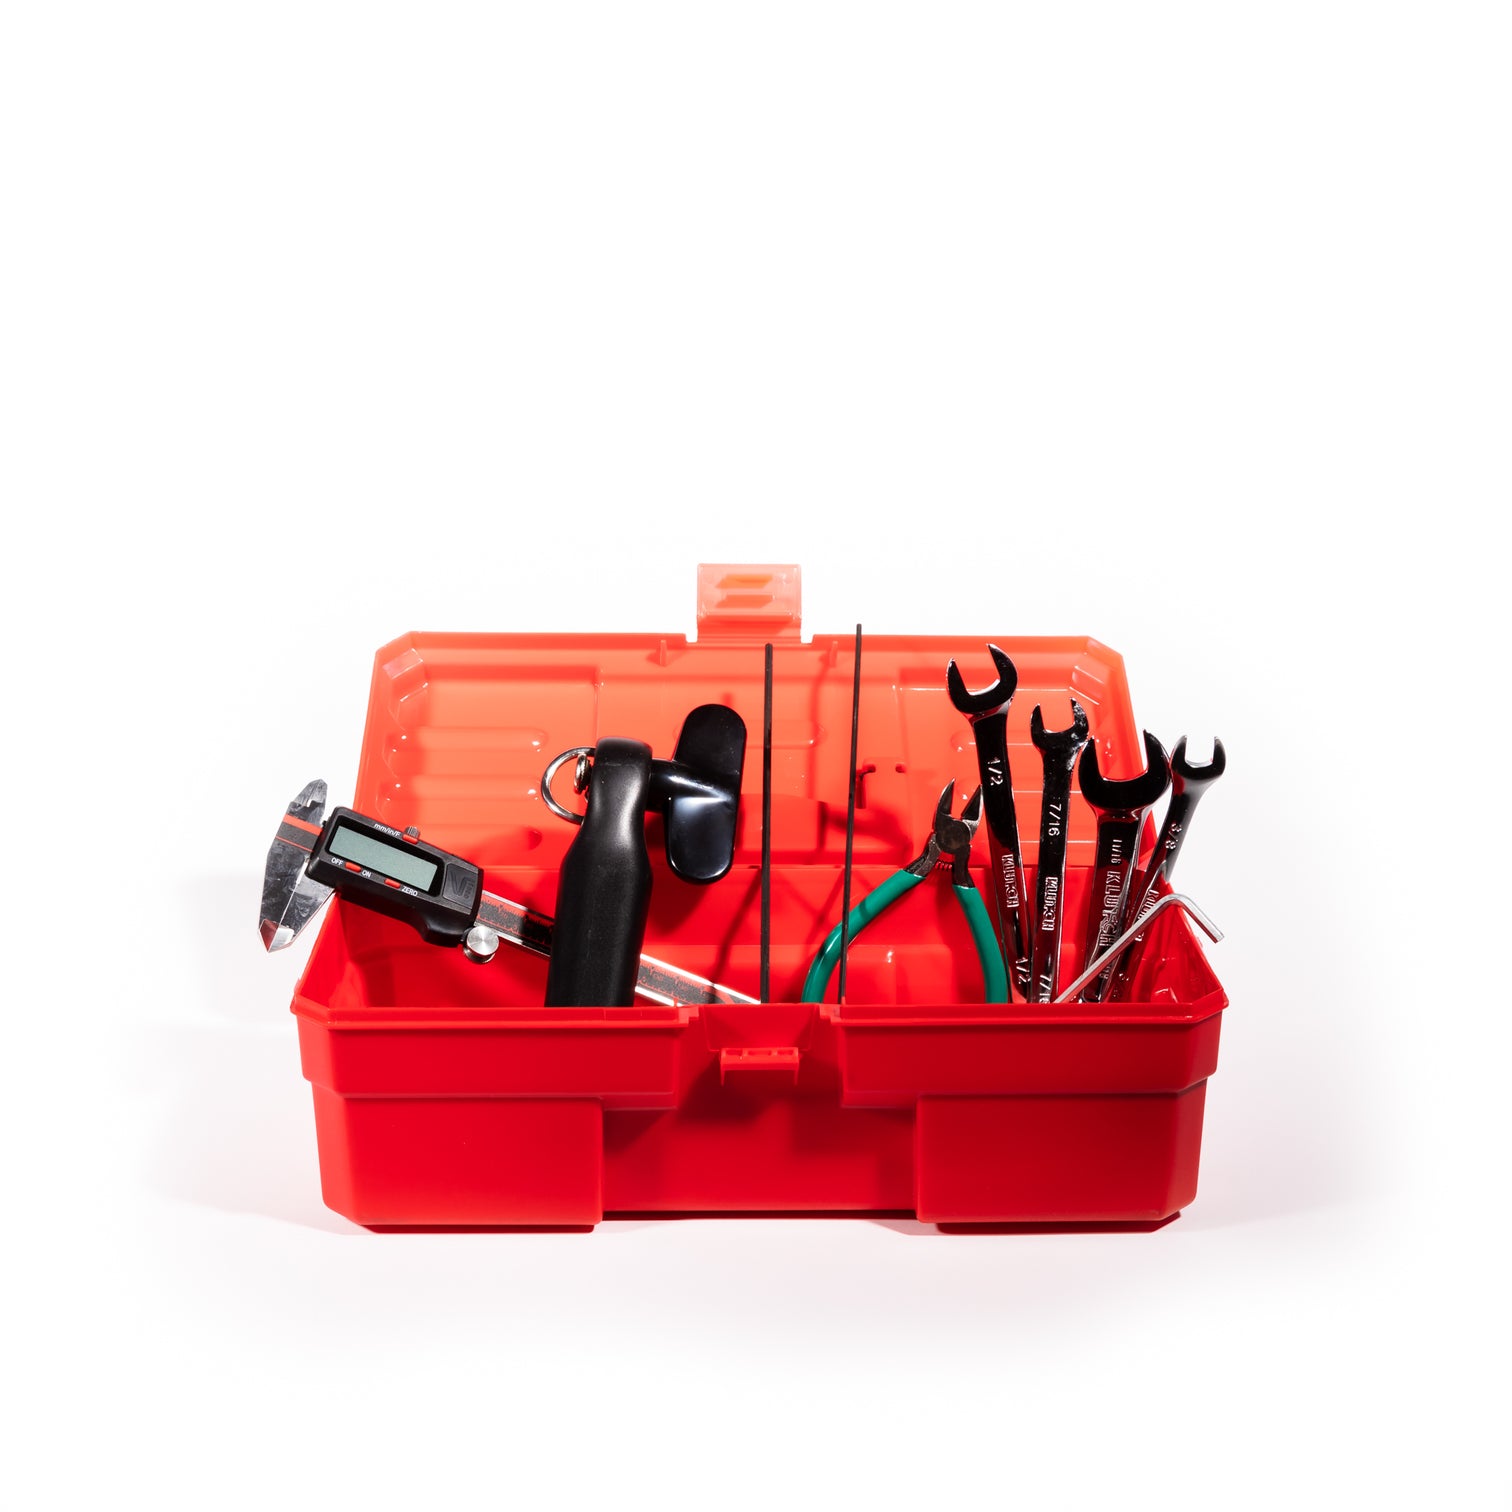
Essential for the testing process, a calibration and tooling change kit helps you ensure your can seamer is canning cold brew coffee properly. Our coffee canning machine calibration kit includes a set of calipers, nippers, a tear-down tool, three different wrench sizes, and three different allen key sizes, all in one organized toolbox.
Extra Brite Cans and Can Ends
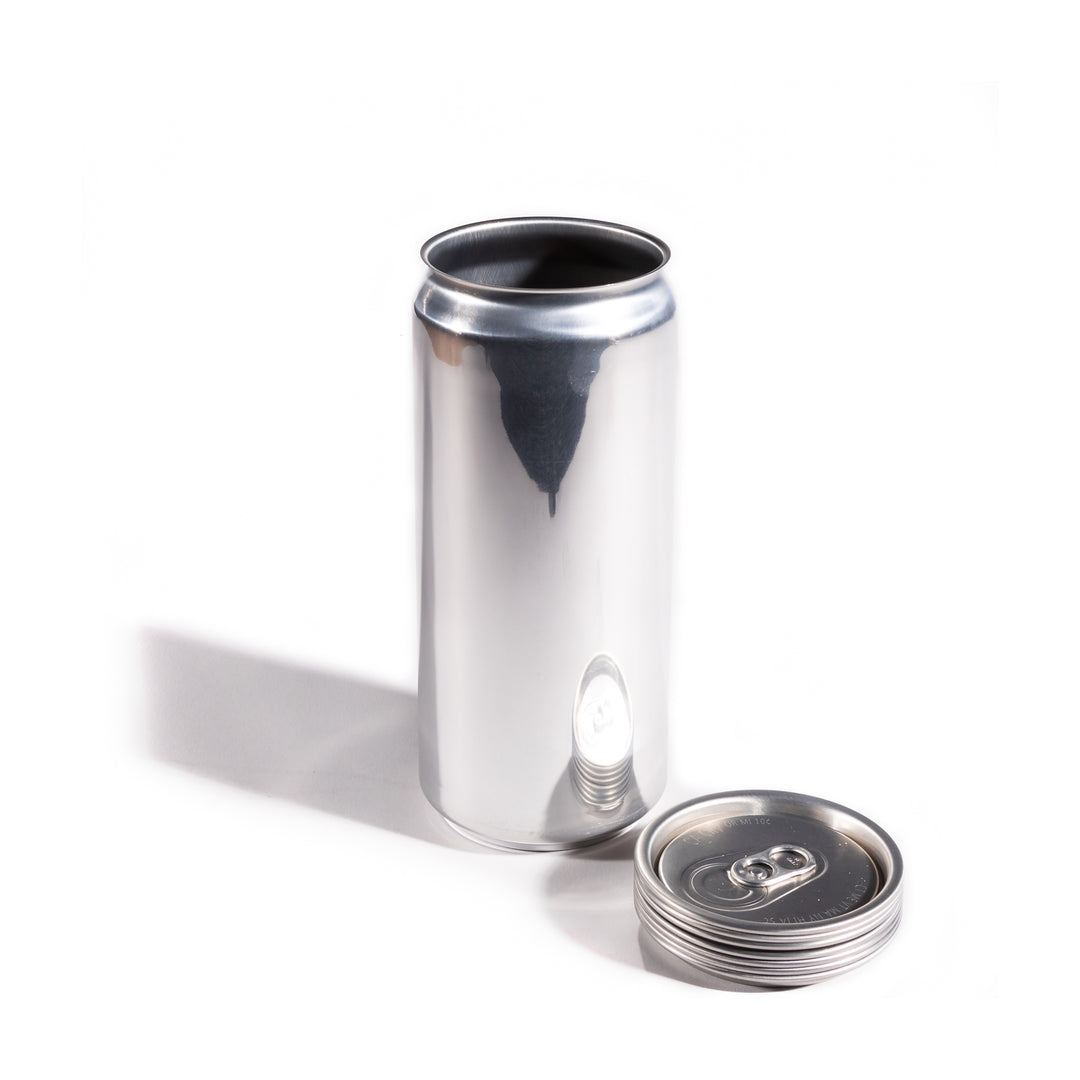
Depending on the size of the cold brew cans you offer, it can be helpful to have additional brite cans and can ends ready. While mistakes in the seaming process don’t happen often, it helps to have a few backups on hand, especially while you’re getting used to using your new coffee canning machine.
Start Canning Cold Brew Coffee with Equipment from Oktober
Offering canned cold brew to your customers with the help of a coffee canning machine can open up an entirely new revenue stream for your business. To let the money start flowing, order your can seamer and learn how to sell cold brew coffee today.