Looking to learn how to can beer? Great news! It doesn’t actually take that much to get started. You can start canning beer at home with only a few pieces of equipment, or you can start a professional operation to can beer for your business.
So here’s how to create your own beer canning process that will ensure you retain flavor and maintain a proper fill level!
1. Ensuring Proper Sterilization
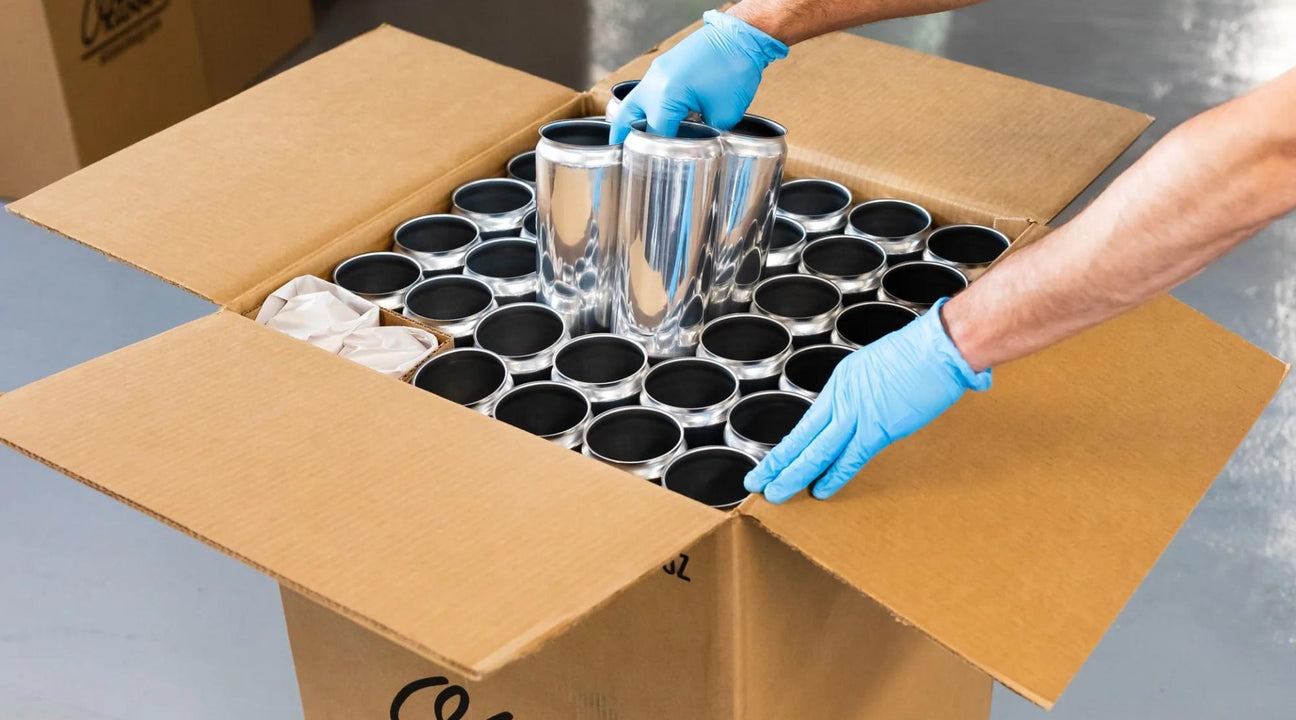
It is important to keep food safety in mind when canning. You want to ensure that no bacteria, fungi, or chemical contaminants find their way into your beer canning process. Be sure to clean all of your surfaces and equipment, and make sure your cans are properly sanitized, even if you just had them delivered.
2. Preventing Oxygen Pickup
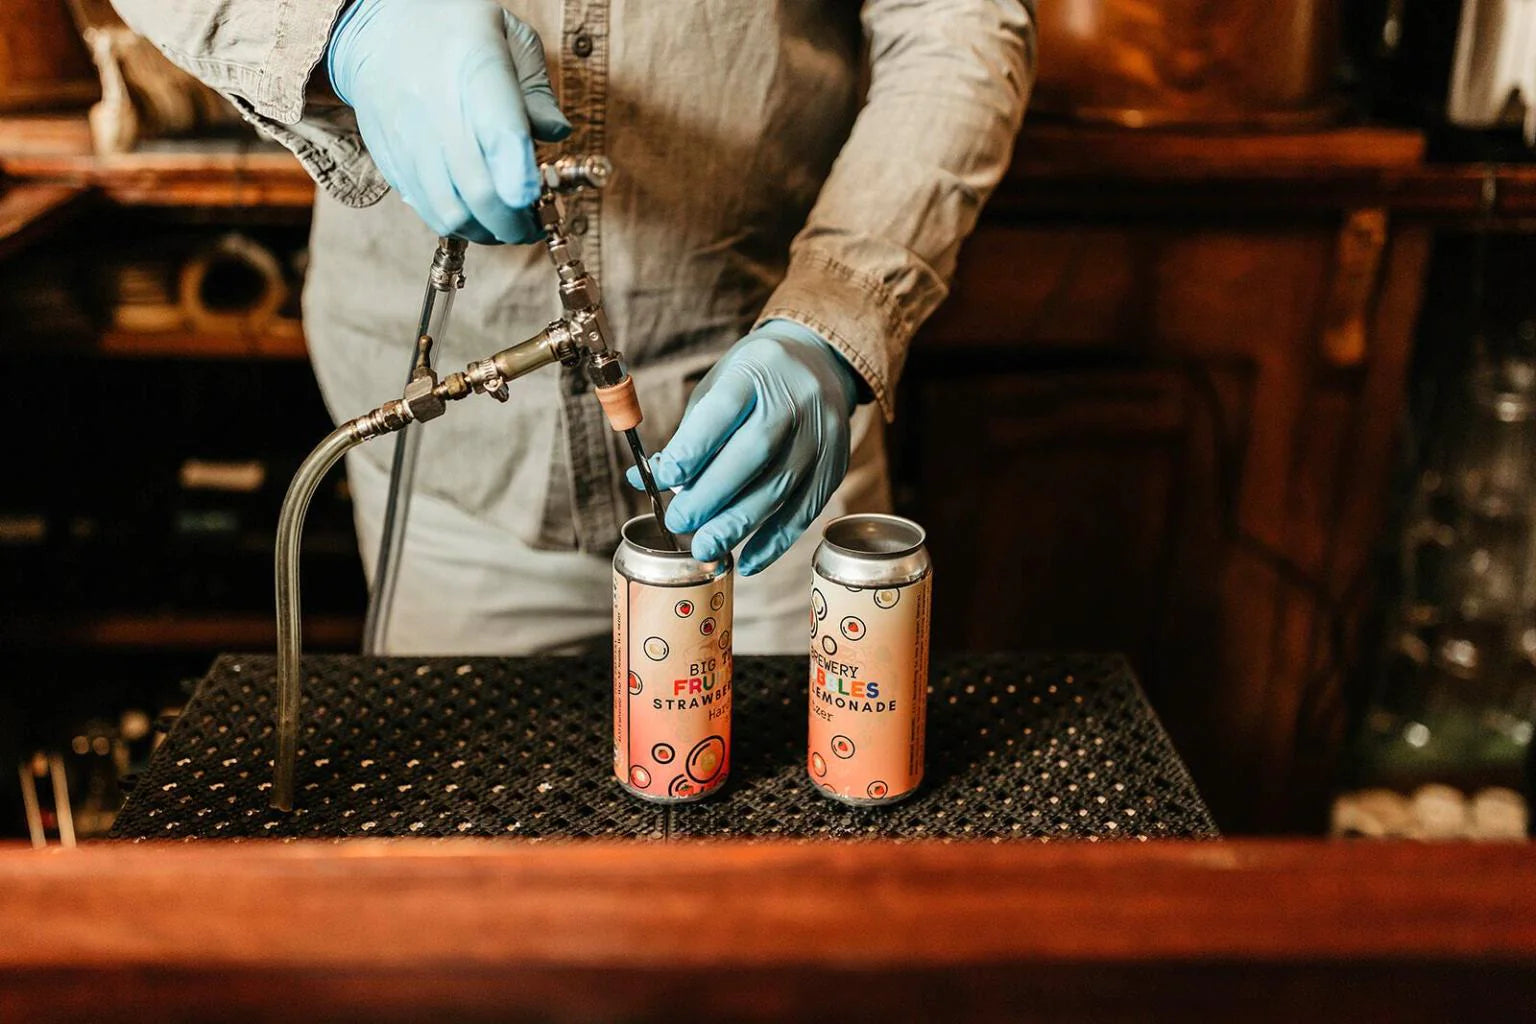
The less oxygen that seeps into your beer canning process, the better. Oxygen will slowly degrade the ingredients of your beer over time, which impacts the flavor and makes it taste stale. If you or your customers are planning to crack open the can within a day or two, the flavor won’t be affected too much. But if it's going to be stored for a while, you need to minimize oxygen as much as you can.
You can use an airgun to gently blow carbon dioxide into the can and displace the oxygen inside before filling the can with beer. Because CO2 is heavier than oxygen, it will remain in the can until you fill it with beer. We say “gently blow” because if you spray it too fast, all your carbon dioxide will just shoot out of the can. Some beer guns even come with CO2 dispensers attached, so you can finish both jobs in one fell swoop.
3. Filling During the Beer Canning Process
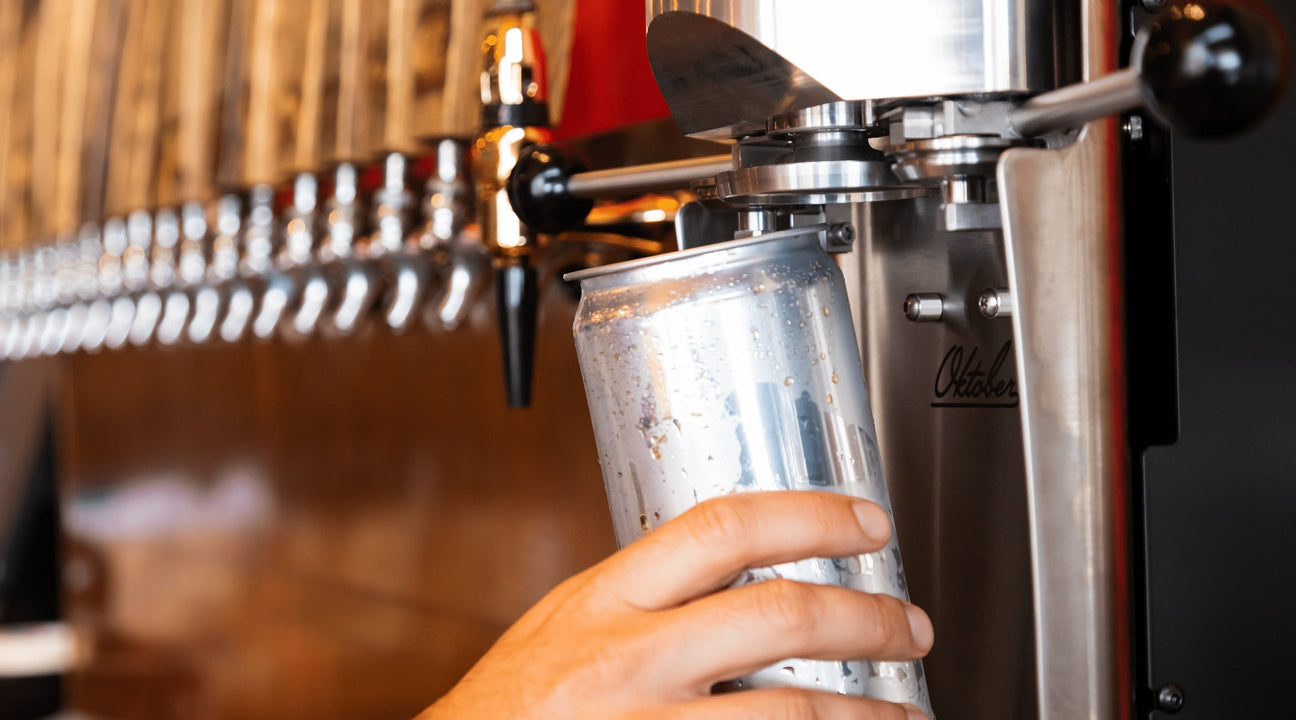
Before filling your can, make sure that the beer is as cold as possible. This will help it retain carbonation and reduce foaming—which can cause a mess and make your beer flat. An extended tube off the end of your tap or a beer gun allows you to fill from the bottom, which also reduces foaming and prevents oxygen from getting into the can. You’ll want to fill right up to the neck of the can and then place your cap immediately—right on top of that foam.
If you want to be sure that you’re filling the cans with the right amount, you can use a scale or drop them into a bucket of water. Cans that sink may be a little too full, but cans that float easily have too much air. For the right balance, you want the top of the can to bob just at the water line.
4. Seaming Securely with Your Beer Canning System
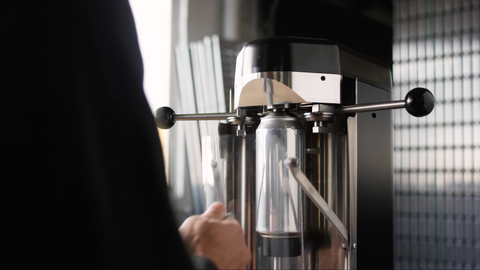
Now we come to the finale of the beer canning process. Creating a tight seam will prevent air from leaking out of the can, ensuring that it retains flavor while keeping bacteria out. And to do that, you’ll need a high-quality, reliable can seamer. Every seamer works a bit differently, but the process is pretty straightforward and should only take a few seconds per can.
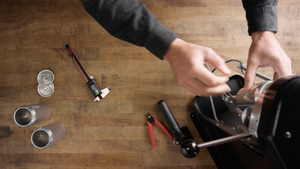
In order to make sure that your machine is calibrated correctly, and the seams are within recommended specs, use a pair of calipers to measure the seam. You can also use a tear-down tool to remove the inner seam and measure that with calipers as well.
5. Keeping the Beer Canning Machine Clean
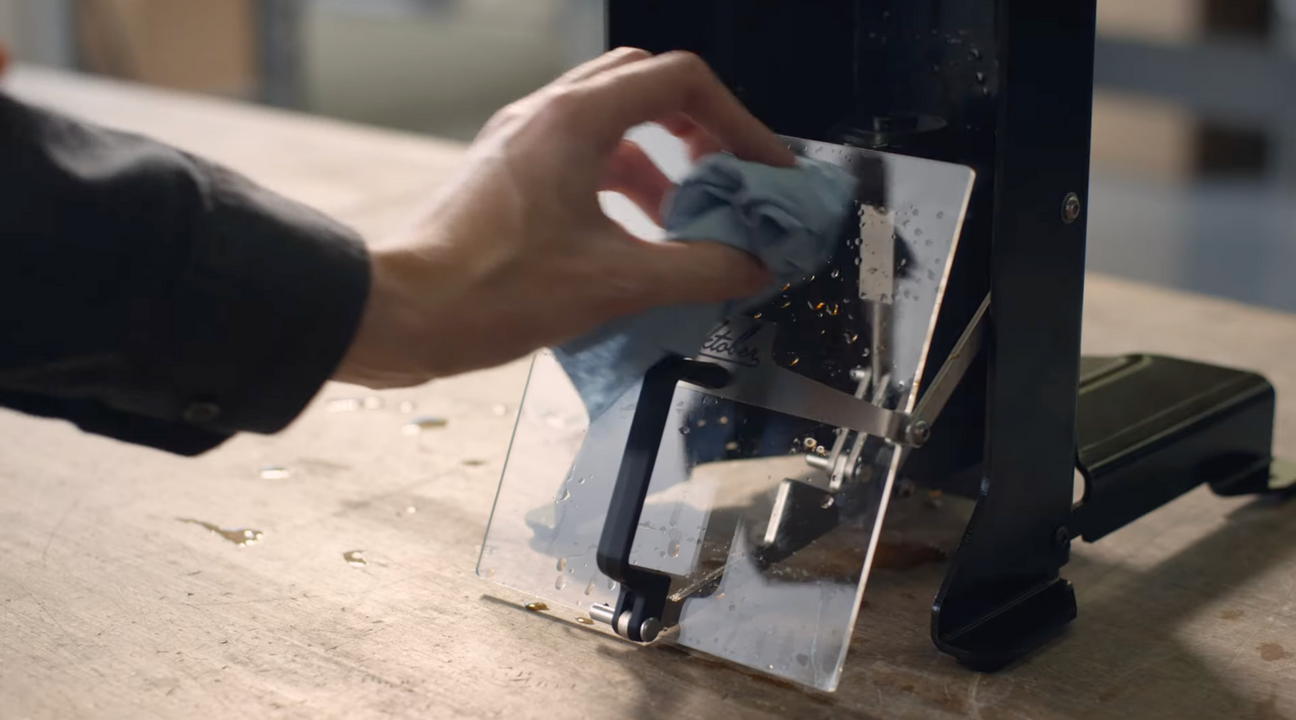
Just as you need to ensure that your canning space is clean, you’ll also need to make sure your beer canning equipment is clean as well. Be sure to regularly sterilize any tools you’re using, both inside and out. Just because they look clean on the outside, doesn’t mean that there can’t be material and bacteria building up on the inside. We recommend fully cleaning your equipment inside and out after every use. Wipe down your canning machine with a warm, wet rag and regrease the moving components before using it again.


